Before
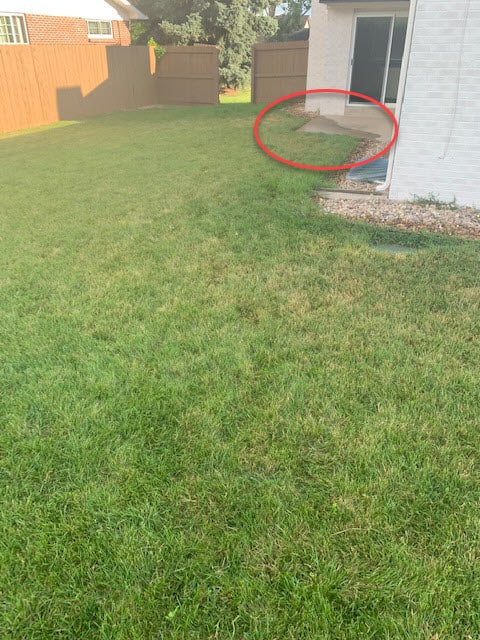
In this photo, you can immediately see the problem (highlighted by the circle). From the standpoint of the picture taker, water from the backyard flows towards the fence – and even towards the house – you can see the wet concrete near the house.
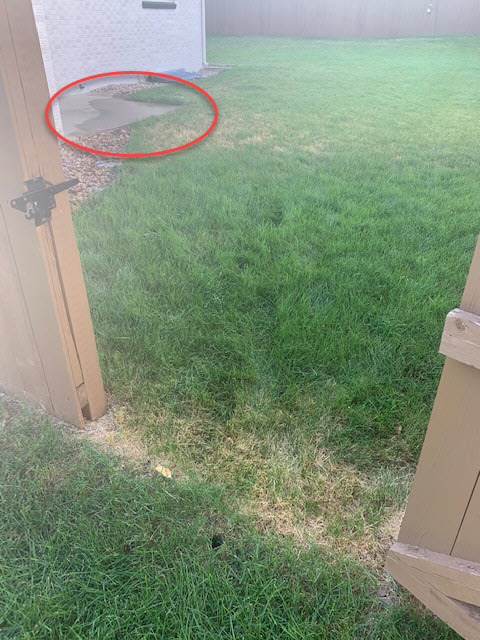
Here is the reverse view with the same area circled. You can envision the general contour of the lawn with water flowing from the back fence and right side of the yard towards the house and the front gate.
This drainage situation was a real problem for the homeowner for obvious reasons.
Trench for French Drain
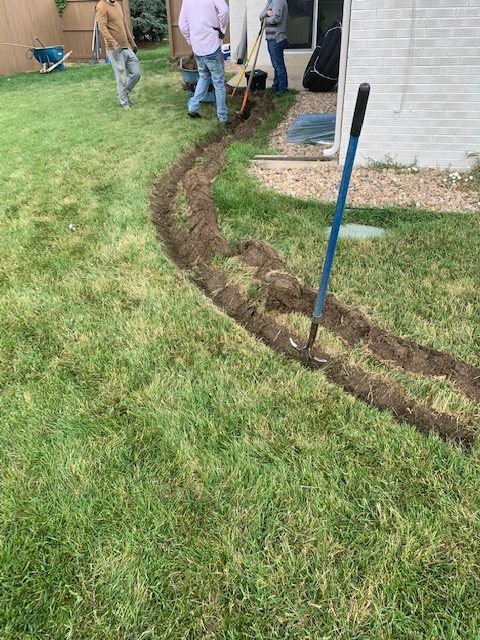
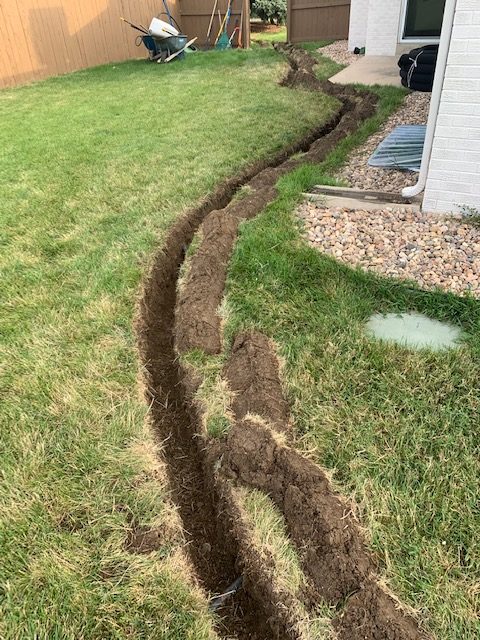
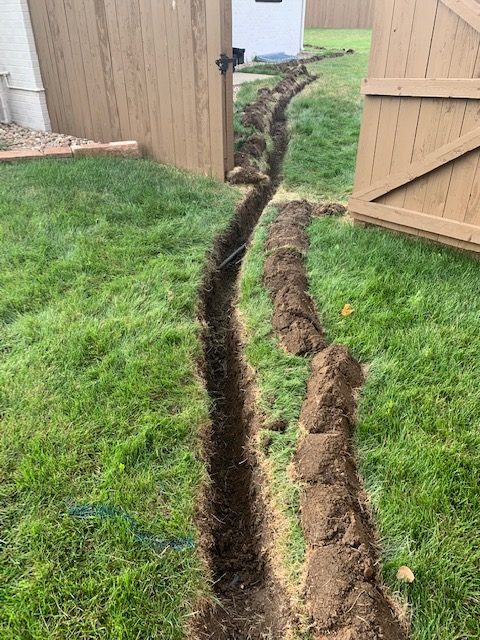
You can see in the photo above that we used shovels to dig a trench for the french drain. We dig down to a depth of around 14 inches – which is enough room to accommodate the pipe and soil on top of the pipe.
We used shovels instead of a trencher because the homeowner has an underground sprinkler system that we obviously wanted to protect. Using a trencher would have no doubt destroyed many pipes and required fixing after the french drain installation.
You can see in the above photos that we placed the french drain along the side of the house to protect the house from drainage coming from the backyard and side yard. Water enters the french drain and is safely diverted to the exit point in the front yard
French Drain Exit Point
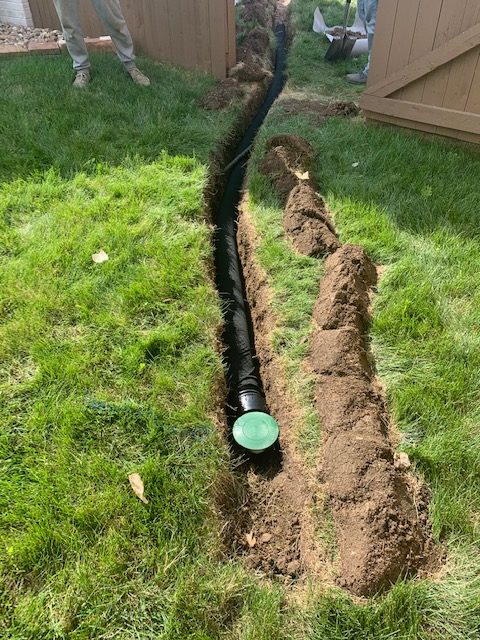
Here you can see the exit point for the french drain in the front yard. The pipe itself is perforated to allow water to enter the pipe (instead of being drawn into the house). There is also a sleeve – also called a sock – surrounding the drain. This sleeve allows water to pass through, but won’t allow dirt or sediment to get into the pipe. Without a sleeve, sediment could build up restricting or even stopping the flow of water in the pipe.
The exit point itself is carefully designed. You can see there is a green dome on top which will pops up gently to release water, and then it goes back into its housing. Since only water pressure can lift the dome, this ensures that no rocks, dirt – or even small animals – can gain entry into the french drain.
Pea Gravel, and Far End of French Drain
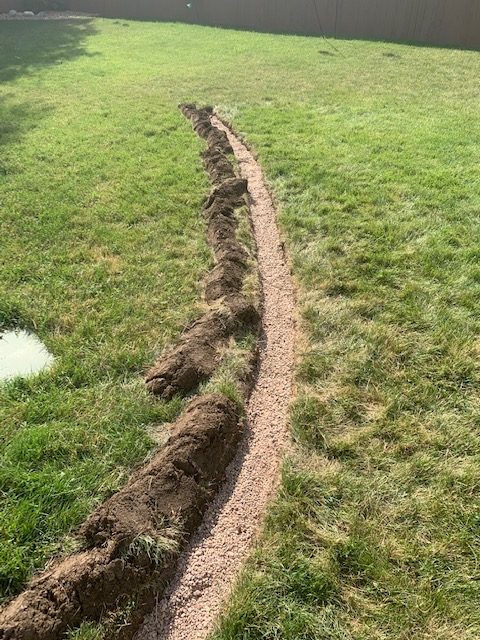
The french drain itself starts in the middle of the back yard and is placed along the bottom of the slope to specifically prevent any water from reaching the house. There is pea gravel placed above and below the french drain – so the gravel completely surrounds the french drain.
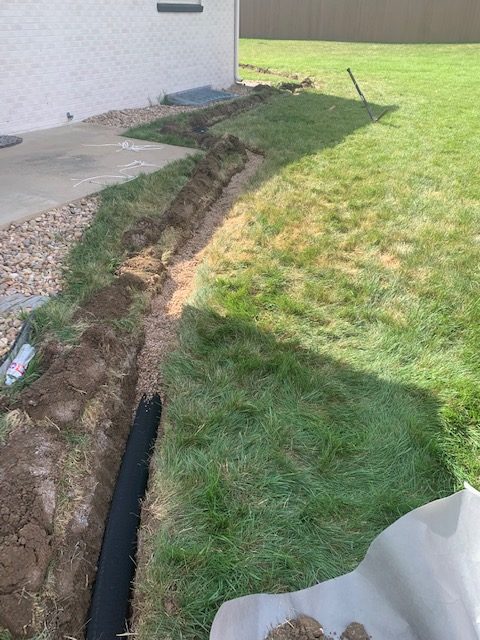
The relatively small size of pea gravel allows for a smooth even surface for the pipe to rest on. Pea gravel is also small and smooth and highly unlikely to puncture the pipe.
Drainage Grate
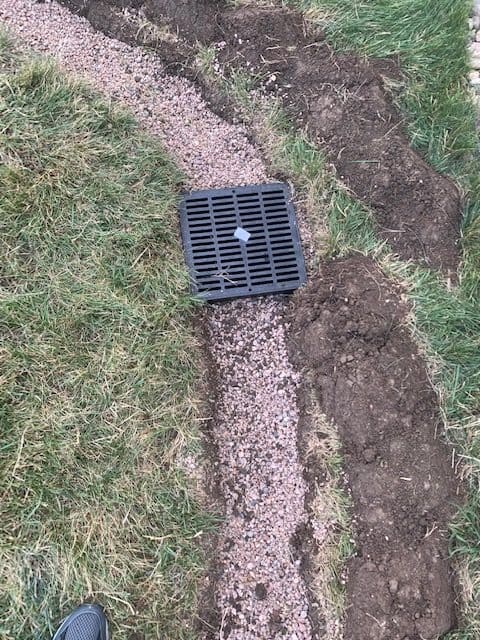
Drainage grates are also sometimes used in french drains and can be placed anywhere along the length of the pipe. As in this case, it is generally best to install grates at the lowest points in the yard where water is likely to pool and cause problems. Use of a drainage grate like this allows an easy path for water to quickly be whisked away from the area where it can’t cause damage.
After Installation is Completed
Replace Sod & Remove Excess Soil
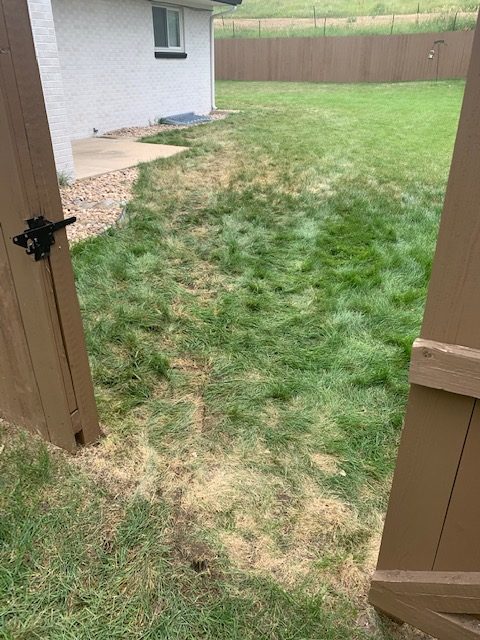
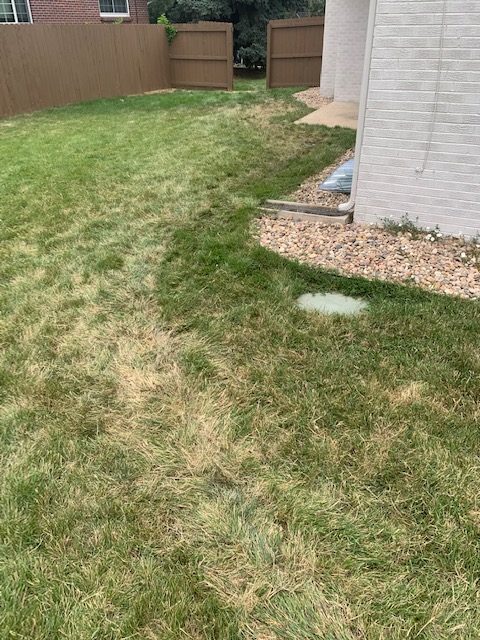
One of the great thing about french drain installs is that homewners can barely tell that we were even there. No new sod is required. We take the existing sod that we removed with shovels and put it back into the lawn.
The french drain does take up some volume that used to be occupied by soil. As part of the french drain installation process, we haul the soil away and properly dispose it.
